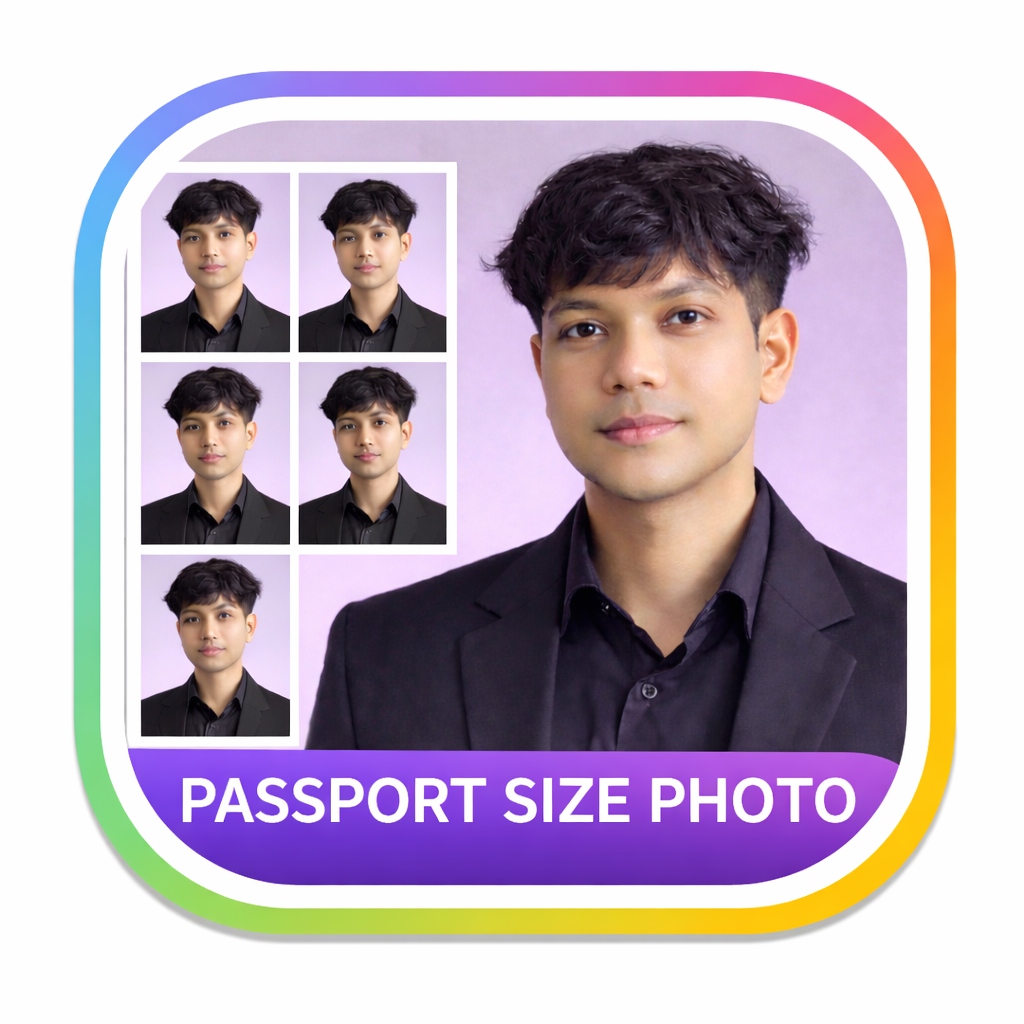
YOUR PHOTO, READY TO PRINT
Make a passport photo
Crop your photo, choose a size, and create a print sheet.
STEP 1
Upload & edit your photo
JPG, PNG, WebP and other browser-supported images · up to 25 MB
Drag to position your photo. Pinch or scroll to zoom. Keep the whole head inside the crop.
Background
Remove the original background, then choose a color.
Background color White
STEP 2
Size & layout
Choose the size required for your document. A preset sets dimensions; it does not check photo eligibility.
Advanced settings Dimensions, spacing & borders
Photo dimensions
Custom paper dimensions
Spacing & margins
STEP 3
Preview & download
Start by choosing a photo. You can adjust its size and layout before downloading.
Choose a photoFor printing, choose PDF and print at 100% / actual size. For JPG or PNG, set the paper dimensions shown above.
Photo tips, FAQs & guidesHelp with cropping, backgrounds and printing
Tips for preparing your photo. Confirm the requirements with the authority requesting your document.
Choose your photo size
Select a preset or enter custom width and height. Set the unit first and confirm the dimensions required for your document.
Inspect your crop
Keep the whole head in view and check the original image at a useful zoom. After background removal, inspect hair and clothing edges before exporting.
Check the print sheet
Choose A4, 4 × 6 inches, or custom paper. The preview shows how many photos fit. Use PDF and print at actual size to preserve the paper dimensions.
Frequently Asked Questions
What are the standard dimensions for a passport photo?
Use the size requested for your specific document. The app offers 35 × 45 mm, 2 × 2 inches, 50 × 70 mm, 300 × 400 px, and custom dimensions. A size preset does not verify whether a photo meets application requirements.
How does the AI background removal feature work?
The passport photo maker uses a local browser-based AI segmentation model to distinguish the subject from their background. All processing is executed directly inside your web browser on your computer or mobile device. None of your image data is sent to external servers, ensuring total privacy.
What background color is required for passport photos?
Check the background colour requested for your document. After removing the background, choose a colour swatch or custom colour, then inspect the edges around your hair and clothing.
What are the lighting requirements for passport photography?
Passport photos require flat, natural lighting that eliminates harsh shadows on your face or background. We recommend facing a bright window to get balanced natural light, or using two light sources positioned at 45-degree angles in front of you. Avoid overhead lights that cast dark circles under the eyes.
How do I format the photo sheet for printing?
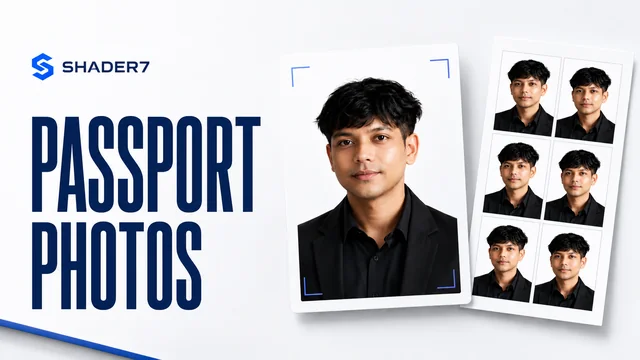
You can select standard print paper sizes like A4 or 4R (4x6 inches) in the settings. The tool will automatically tile multiple copies of your passport photo onto a single sheet with proper margins and gaps, complete with optional cutlines so you can easily cut them out after printing.
Is my uploaded photo secure on Shader7?
Yes, absolutely. The entire process runs locally on your system using client-side JavaScript APIs. Your photo is never uploaded to any remote server or stored in a database. Your data is private, secure, and stays entirely on your own device.
Can I make a passport size photo with a blue background?
Yes. Remove the background, then select the blue swatch or choose a custom shade. Confirm that the chosen colour is accepted for your intended document.
Related Expert Guides & Resources
Free Passport Photo Guide
Get a comprehensive checklist of official biometric photo standards for visa and passport submissions worldwide.
Read Expert Guide →DIY Passport Lighting Setup
Step-by-step tutorial on taking professional passport pictures at home using standard window light and smartphone setups.
Read Expert Guide →Online Tool Security & Privacy
Find out how Shader7 keeps your credentials, images, and financial spreadsheets safe via browser-based local execution.
Read Expert Guide →